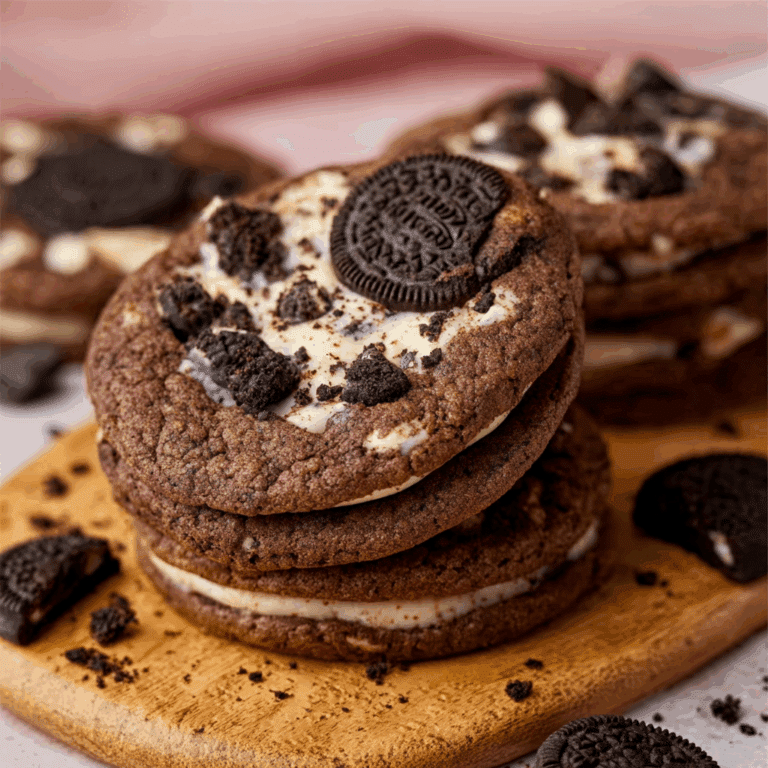
Why Layered Oreo Cheesecake Steals the Show
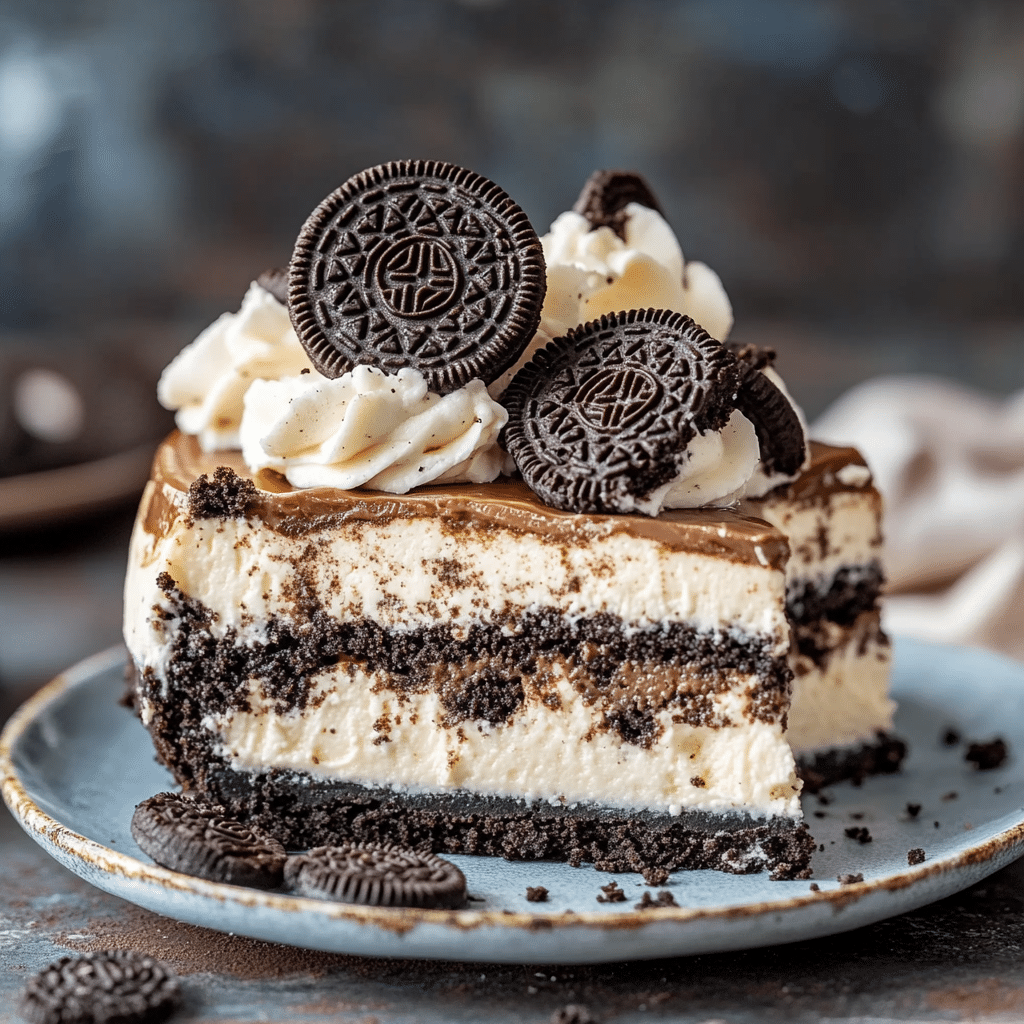
If you’re searching for a dessert that combines creamy richness with a playful crunch, look no further than the Layered Oreo Cheesecake. This decadent delight blends smooth cream cheese with the unmistakable chocolatey goodness of Oreo cookies, creating layers of irresistible flavor and texture that make every bite a show-stopping experience. Whether for a special occasion or a weekend treat, this dessert will have everyone asking for seconds.
Why You’ll Love This Recipe
- Perfect balance: The creamy cheesecake layered with crunchy Oreo pieces gives a delightful contrast in every forkful.
- Eye-catching presentation: The striking layers make it as beautiful to look at as it is delicious to eat.
- Simple to make: Using easy-to-find ingredients, this recipe is straightforward enough for even beginners.
- Customizable: You can easily tweak the recipe with different toppings and flavors to suit your taste.
- Crowd-pleaser: Oreo lovers and cheesecake fans alike will be drawn to this dessert’s familiar but elevated charm.
Ingredients You’ll Need
The secret to a great Layered Oreo Cheesecake is quality ingredients that work in harmony. Each element plays a crucial role in delivering the texture, taste, and perfect color contrast you’ll adore.
- Crushed Oreo cookies: The base and layered chunks offer that signature crunch and chocolate flavor.
- Cream cheese: Provides that rich and velvety texture that defines cheesecake’s indulgent nature.
- Sour cream or heavy cream: Adds softness and balance to the cream cheese, keeping the texture smooth.
- Sugar: Sweetens the mix to perfection without overpowering the Oreo’s bitterness.
- Vanilla extract: Enhances the overall flavor profile with subtle warmth and complexity.
- Butter: Binds the crust and adds a luscious richness.
- Eggs: Help set the cheesecake while maintaining a creamy interior.
Variations for Layered Oreo Cheesecake
One of the best parts about this Layered Oreo Cheesecake is how flexible it is, allowing you to personalize it for any occasion or dietary need. Here are some easy ways to make it your own.
- Gluten-free option: Use gluten-free Oreos to keep the dessert safe for those with sensitivities.
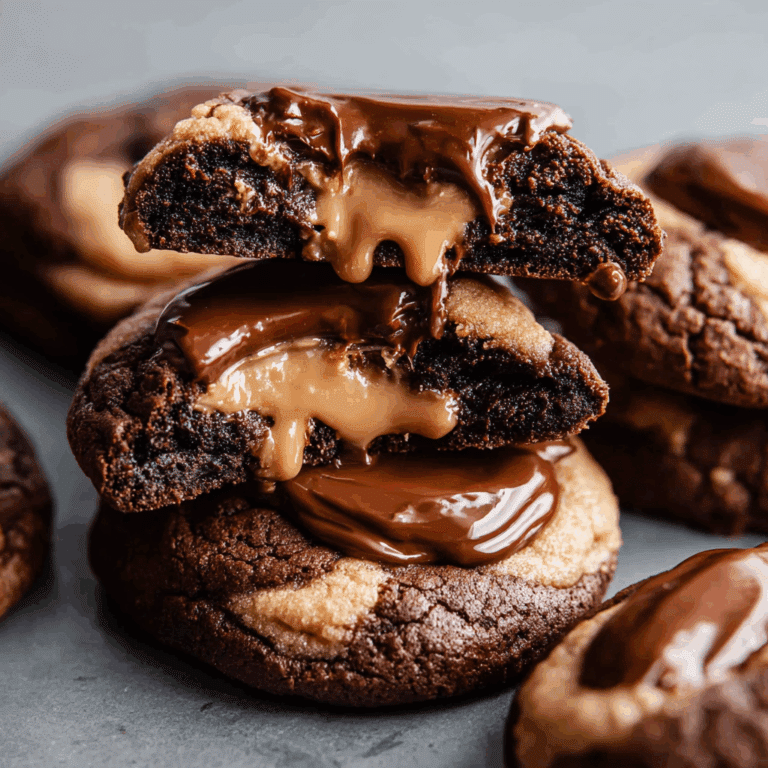
- Chocolate ganache layer: Add a rich ganache glaze for an extra touch of decadence on top.
- Mint Oreo twist: Swap classic Oreos for mint-flavored ones for a refreshing flavor boost.
- Mini cheesecakes: Make individual portions in muffin tins for easier serving and impressiveness.
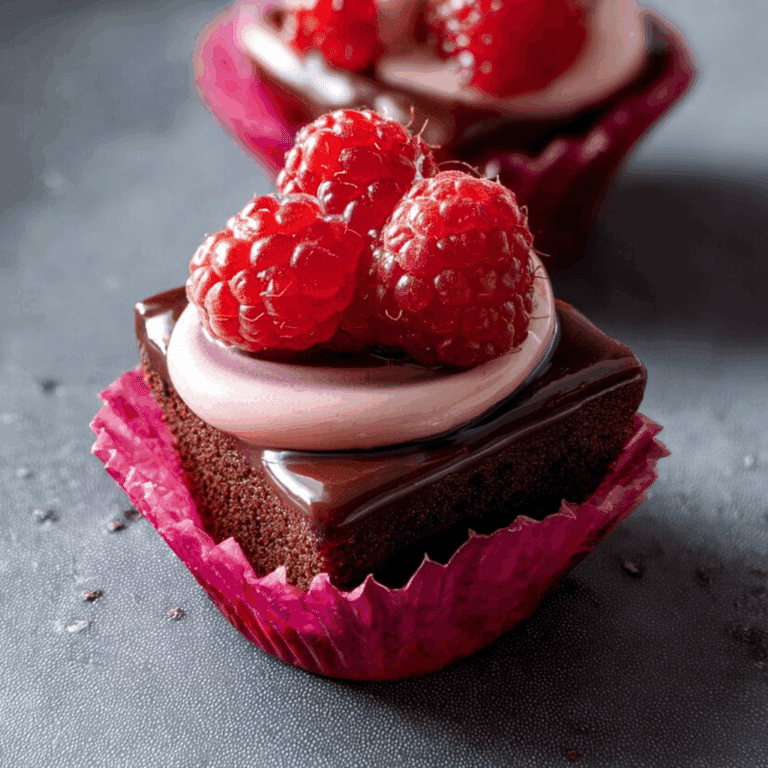
- Fruit topping: Complement the richness with fresh berries or a tangy raspberry sauce.

How to Make Layered Oreo Cheesecake
Step 1: Prepare the Oreo Crust
Start by crushing Oreo cookies finely and mixing them with melted butter until the mixture holds together like damp sand. Press this firmly into the bottom of a springform pan to create the delicious cookie crust base.
Step 2: Make the Cheesecake Batter
In a large bowl, beat softened cream cheese with sugar until smooth and fluffy. Then add eggs, one at a time, vanilla extract, and sour cream or heavy cream to create a silky batter.
Step 3: Layer the Oreos
Gently fold in some crushed Oreos to the batter for bursts of cookie goodness. Pour half the batter over the crust, then sprinkle additional crushed Oreos evenly before layering the remaining batter on top.
Step 4: Bake the Cheesecake
Bake in a preheated oven at a moderate temperature until the edges are set but the center still jiggles slightly. This ensures a creamy texture without overcooking.
Step 5: Chill Before Serving
Let the cheesecake cool to room temperature, then refrigerate for at least 4 hours or overnight to allow the flavors to meld and the texture to firm up beautifully.
Pro Tips for Making Layered Oreo Cheesecake
- Room temperature ingredients: Ensure cream cheese and eggs are room temperature to prevent lumps in your batter.
- Don’t overmix: Mix just until combined to keep the batter light and avoid cracks during baking.
- Use a water bath: Placing the pan in a water bath while baking helps the cheesecake cook evenly without cracking.
- Crush Oreos to different sizes: Mixing fine crumbs with larger chunks adds interesting texture throughout the layers.
- Chill thoroughly: The best texture is achieved after the cheesecake has had time to set in the fridge overnight.
How to Serve Layered Oreo Cheesecake
Garnishes
Finish your cheesecake with a sprinkle of crushed Oreos, a drizzle of chocolate syrup, or even whipped cream to add visual appeal and extra flavor contrast.
Side Dishes
Pair your Layered Oreo Cheesecake with fresh berries, a scoop of vanilla ice cream, or a cup of rich espresso to complement the sweetness and make the experience even more enjoyable.
Creative Ways to Present
Serve this dessert in clear glass jars or individual cups to showcase its stunning layers, or slice and arrange on a decorative platter with Oreo crumbles scattered around for a bakery-style touch.
Make Ahead and Storage
Storing Leftovers
Keep your cheesecake well-wrapped in plastic wrap or covered tightly in the refrigerator for up to 4 days to maintain freshness and moisture.
Freezing
Freeze in an airtight container if you want to save your Layered Oreo Cheesecake longer, ideally for up to one month, then thaw overnight in the fridge before serving.
Reheating
This cheesecake is best enjoyed chilled, so avoid reheating. If you prefer it slightly softer, let it sit at room temperature for 15-20 minutes before slicing.
FAQs
Can I use regular chocolate chips instead of Oreos?
While chocolate chips can add a different flavor and texture, the iconic layered look and crunch come specifically from Oreos, so it won’t be quite the same but still delicious.
Is this recipe suitable for beginners?
Absolutely! The Layered Oreo Cheesecake uses simple steps and ingredients, making it a great choice for first-time cheesecake makers.
How do I prevent cracks on the cheesecake surface?
Using a water bath during baking and avoiding overmixing the batter will help prevent cracks and keep the surface smooth.
Can I make this recipe dairy-free?
Yes, substituting cream cheese and cream with dairy-free alternatives works well, though the texture may be slightly different.
How long does the cheesecake need to chill?
For the best flavor and texture, refrigerate your Layered Oreo Cheesecake for at least 4 hours, preferably overnight.
Final Thoughts
There’s something truly special about a dessert that looks as incredible as it tastes, and the Layered Oreo Cheesecake nails that every time. Its rich, creamy layers and Oreo crunch make it a winner for any occasion. So why wait? Gather your ingredients and treat yourself to this show-stopping delight—you won’t regret it!
Related Posts
- How to Make Perfect Pineapple Bliss Bars
- Why Blueberry Cheesecake Crescent Rolls Delight
- Irresistible Southern Pecan Upside Down Cake Recipe
Layered Oreo Cheesecake
Layered Oreo Cheesecake is a rich and creamy dessert featuring velvety cream cheese layers interspersed with crunchy Oreo cookie pieces. This decadent treat balances smooth texture and chocolatey crunch, making it perfect for special occasions or a delightful weekend indulgence.
- Prep Time: 20 minutes
- Cook Time: 55 minutes
- Total Time: 5 hours 15 minutes
- Yield: 10-12 servings 1x
- Category: Dessert
- Method: Baking
- Cuisine: American
- Diet: Gluten Free (if gluten-free Oreos are used)
Ingredients
Crust
- 1 ½ cups crushed Oreo cookies (about 15–18 cookies)
- 5 tablespoons unsalted butter, melted
Cheesecake Batter
- 24 oz (3 packages) cream cheese, softened
- 1 cup granulated sugar
- 3 large eggs, room temperature
- 1 teaspoon vanilla extract
- ½ cup sour cream or heavy cream
- 1 cup crushed Oreo cookies (for layering)
Instructions
- Prepare the Oreo Crust: Crush Oreo cookies finely and mix them with melted butter until the mixture resembles damp sand. Firmly press this mixture into the bottom of a springform pan to form the cookie crust base.
- Make the Cheesecake Batter: In a large bowl, beat softened cream cheese with sugar until smooth and fluffy. Add eggs one at a time, then mix in vanilla extract and sour cream or heavy cream until the batter is silky and well combined.
- Layer the Oreos: Gently fold some crushed Oreos into the cheesecake batter for bursts of cookie texture. Pour half of the batter over the crust, sprinkle additional crushed Oreos evenly on top, then cover with the remaining batter.
- Bake the Cheesecake: Bake in a preheated oven at 325°F (163°C) until the edges are set but the center still jiggles slightly, about 50-60 minutes. Using a water bath during baking is recommended to help cook evenly and prevent cracks.
- Chill Before Serving: Allow the cheesecake to cool to room temperature. Refrigerate for at least 4 hours or overnight to let the flavors meld and the texture to firm up perfectly.
Notes
- Use room temperature cream cheese and eggs to ensure a smooth batter without lumps.
- Mix the batter just until combined to avoid cracking during baking.
- A water bath helps achieve an even bake and a crack-free surface.
- Mix crushed Oreos of varied sizes for an appealing texture contrast.
- Chill overnight for best flavor and creamy texture.
Nutrition
- Serving Size: 1 slice (1/12 of cheesecake)
- Calories: 420
- Sugar: 28g
- Sodium: 320mg
- Fat: 30g
- Saturated Fat: 18g
- Unsaturated Fat: 10g
- Trans Fat: 0.5g
- Carbohydrates: 32g
- Fiber: 1g
- Protein: 7g
- Cholesterol: 110mg
Keywords: Layered Oreo Cheesecake, Oreo cheesecake, creamy cheesecake, chocolate dessert, layered dessert, easy cheesecake recipe, Oreo dessert