Why Biscoff Brownies Are a Must-Try Treat
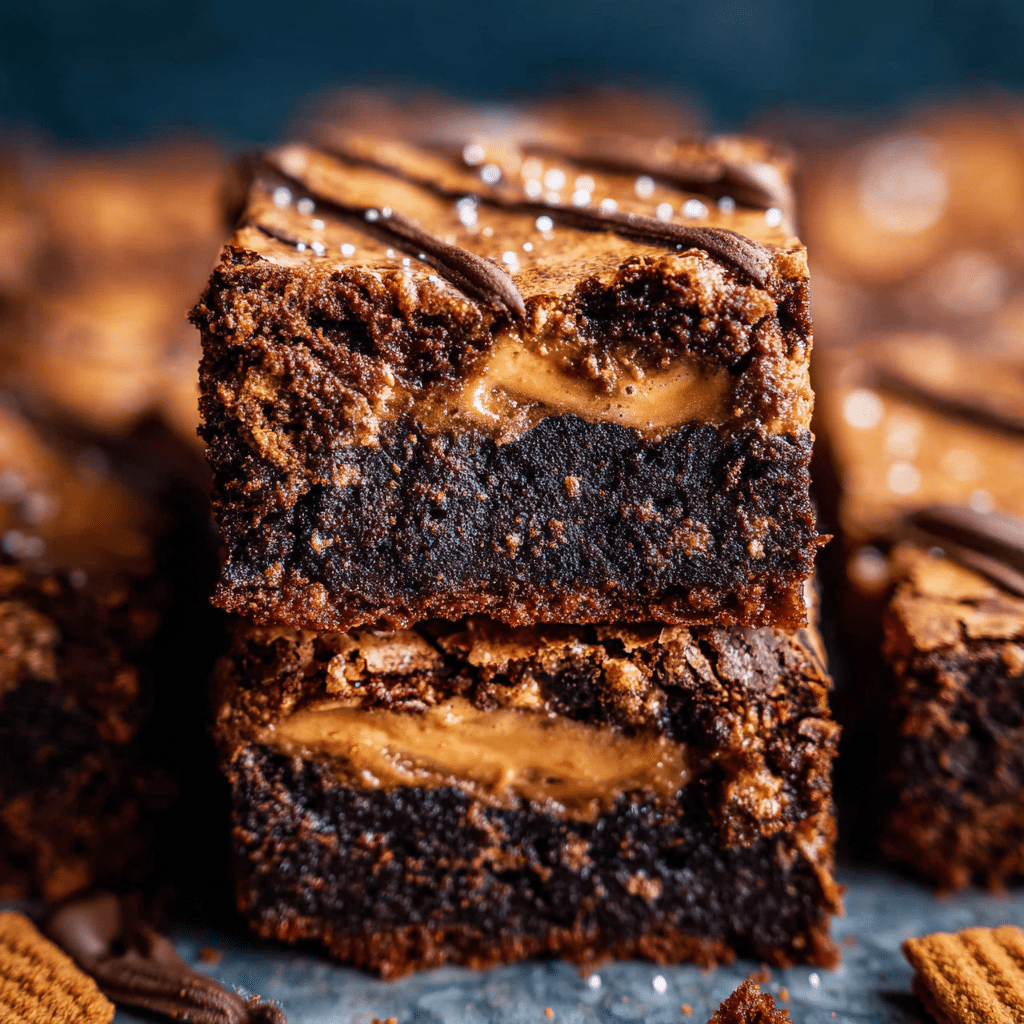
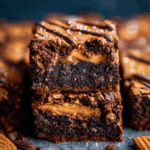
Discover rich, fudgy Biscoff Brownies that blend creamy cookie butter and chocolate for an irresistible, must-try dessert treat. These brownies are a perfect balance of decadent chocolate goodness combined with the unique spiced, caramelized flavor of Biscoff spread. If you crave an indulgent, comforting sweet that’s both familiar and surprising, Biscoff Brownies should be your next baking adventure.
Why You’ll Love This Recipe
- Unique flavor fusion: Combines the deep richness of chocolate with the spicy caramel notes of Biscoff cookie butter for an unforgettable taste.
- Fudgy texture perfection: Achieves that ideal dense and moist brownie texture that brownie lovers adore.
- Easy to make: Uses simple ingredients and straightforward steps, perfect for both baking beginners and pros.
- Versatile dessert: Great as a snack, party treat, or gift — it fits all occasions and cravings.
- Customizable: Easily adaptable to include nuts, toppings, or dietary tweaks to suit your preferences.
Ingredients You’ll Need
This Biscoff Brownies recipe keeps it simple, focusing on a handful of quality ingredients that each play a vital role in creating that rich flavor and smooth texture you’re after.
- High-quality dark chocolate: Melts smoothly to create the luscious chocolate base, adding depth to the brownies.
- Biscoff cookie butter: Adds creamy, spiced sweetness that makes these brownies truly special.
- Unsalted butter: Enhances moistness and richness without overpowering the other flavors.
- Sugar: Sweetens the batter perfectly without being overly sugary.
- All-purpose flour: Provides structure so your brownies hold together with that classic chewy bite.
- Eggs: Bind ingredients while contributing to a tender crumb.
- Vanilla extract: Elevates all the flavors with a subtle aromatic touch.
- Salt: Balances sweetness and brings out the chocolate’s complex notes.
Variations for Biscoff Brownies
Feel free to make these Biscoff Brownies your own! The recipe is incredibly flexible, allowing tweaks to fit ingredients on hand, dietary needs, or flavor cravings.
- Nutty twist: Add chopped pecans or walnuts for crunch and earthiness.
- Gluten-free version: Substitute all-purpose flour with a gluten-free baking blend of choice.
- Vegan adaptation: Use flax eggs and dairy-free butter for a vegan-friendly dessert.
- Swirled Biscoff topping: Dollop extra Biscoff spread on top and swirl with a knife before baking for a beautiful marbled effect.
- Chocolate chips mix-in: Stir in white or milk chocolate chips to contrast with the dark chocolate base.

How to Make Biscoff Brownies
Step 1: Prep Your Ingredients
Begin by gathering and measuring all ingredients carefully. Preheat your oven to 350°F (175°C) and line an 8-inch square pan with parchment paper to ensure easy removal.
Step 2: Melt the Butter and Chocolate
In a heatproof bowl set over simmering water (double boiler), melt the unsalted butter and dark chocolate together, stirring until smooth and glossy.
Step 3: Mix in Biscoff Cookie Butter
Remove the bowl from heat and immediately stir in the creamy Biscoff cookie butter until fully incorporated, creating a luscious chocolate-cookie butter blend.
Step 4: Add Sugar, Eggs, and Vanilla
Whisk in the sugar until smooth, then beat in the eggs one at a time, followed by the vanilla extract. The batter will thicken slightly and become shiny.
Step 5: Fold in Dry Ingredients
Gently sift together the flour and salt, then fold into the wet mixture carefully to maintain the fudgy texture—avoid overmixing.
Step 6: Pour and Bake
Transfer the batter into your prepared pan, smoothing out the top. Bake for 25-30 minutes or until a toothpick inserted near the center comes out with moist crumbs.
Step 7: Cool and Enjoy
Allow the brownies to cool completely in the pan before cutting into squares. This helps lock in moisture and keeps edges chewy.
Pro Tips for Making Biscoff Brownies
- Use room temperature eggs: They blend more easily and help create a smoother batter.
- Don’t overbake: Remove brownies as soon as a toothpick comes out with moist crumbs for that fudgy texture.
- Quality Biscoff spread matters: Using authentic Lotus Biscoff spread significantly enhances the signature flavor.
- Chill before slicing: Refrigerate brownies for 30 minutes after cooling to make cutting cleaner and less crumbly.
- Try swirling extra Biscoff on top: For a visually stunning and flavorful twist, swirl additional cookie butter on the batter before baking.
How to Serve Biscoff Brownies
Garnishes
Elevate your Biscoff Brownies by sprinkling chopped toasted hazelnuts or a light dusting of powdered sugar for added texture and a polished look.
Side Dishes
Pair these brownies with a scoop of vanilla ice cream or drizzle with warm salted caramel sauce to boost the richness and add a cool contrast.
Creative Ways to Present
Serve bite-sized brownie squares on a decorative platter with sprigs of fresh mint, or make brownie sandwiches filled with whipped cream or marshmallow fluff for a party treat.
Make Ahead and Storage
Storing Leftovers
Store any leftover Biscoff Brownies in an airtight container at room temperature for up to three days to retain their chewy texture and moistness.
Freezing
Wrap individual brownies tightly in plastic wrap and place in a freezer-safe bag. They keep well frozen for up to three months and thaw quickly at room temperature.
Reheating
Warm brownies in a microwave for 10-15 seconds or in a low-temperature oven for 5 minutes for a fresh-out-of-the-oven feel that melts the cookie butter delightfully.
FAQs
Can I use crunchy Biscoff spread for this recipe?
While creamy Biscoff spread blends smoothly into the batter, using crunchy Biscoff can add a lovely texture, though it may slightly alter the smoothness of the brownies.
Are Biscoff Brownies gluten-free?
The traditional recipe uses all-purpose flour containing gluten, but swapping with a gluten-free flour blend will work well for those avoiding gluten.
Can I make these brownies vegan?
Yes! Replace eggs with flax eggs and use dairy-free butter and chocolate to create delicious vegan Biscoff Brownies.
How long do Biscoff Brownies stay fresh?
Stored properly in an airtight container, they remain moist and tasty for up to 3 days at room temperature or up to a week refrigerated.
Can I add other mix-ins?
Absolutely! Chopped nuts, chocolate chips, or even dried fruits can be stirred into the batter for extra bursts of flavor and texture.
Final Thoughts
Baking these Biscoff Brownies will quickly become a favorite kitchen adventure. They’re indulgent, easy to make, and offer something refreshingly new with every bite. Whether you serve them at a family gathering, gift them to friends, or simply treat yourself, these brownies combine the magic of chocolate and cookie butter in a way you won’t forget. Grab your ingredients and whip up a batch today—you won’t regret it!
Related Posts
- How to Make the Perfect Sock It To Me Cake
- How to Perfect Kentucky Butter Cake Cookies
- Why Buckeye Brownie Cookies Are Irresistible
Biscoff Brownies
Discover rich and fudgy Biscoff Brownies that blend creamy Biscoff cookie butter and dark chocolate for an irresistible dessert treat. These brownies offer a perfect balance of decadent chocolate and the unique spiced caramel flavor of Biscoff spread, delivering a dense, moist texture ideal for any occasion.
- Prep Time: 15 minutes
- Cook Time: 25-30 minutes
- Total Time: 40-45 minutes
- Yield: 9-12 brownies
- Category: Dessert
- Method: Baking
- Cuisine: American
- Diet: Gluten Free (if using gluten-free flour substitute)
Ingredients
Wet Ingredients
- Unsalted butter – 1/2 cup (115g)
- High-quality dark chocolate – 4 oz (115g)
- Biscoff cookie butter – 1/2 cup (125g)
- Eggs – 2 large (room temperature)
- Vanilla extract – 1 tsp
Dry Ingredients
- Sugar – 3/4 cup (150g)
- All-purpose flour – 3/4 cup (95g)
- Salt – 1/4 tsp
Instructions
- Prep Your Ingredients: Begin by gathering and measuring all ingredients carefully. Preheat your oven to 350°F (175°C) and line an 8-inch square pan with parchment paper for easy removal.
- Melt the Butter and Chocolate: In a heatproof bowl set over simmering water (double boiler), melt the unsalted butter and dark chocolate together, stirring until smooth and glossy.
- Mix in Biscoff Cookie Butter: Remove the bowl from heat and immediately stir in the creamy Biscoff cookie butter until fully incorporated, creating a luscious chocolate-cookie butter blend.
- Add Sugar, Eggs, and Vanilla: Whisk in the sugar until smooth, then beat in the eggs one at a time, followed by the vanilla extract. The batter will thicken slightly and become shiny.
- Fold in Dry Ingredients: Gently sift together the flour and salt, then fold into the wet mixture carefully to maintain the fudgy texture—avoid overmixing.
- Pour and Bake: Transfer the batter into your prepared pan, smoothing out the top. Bake for 25-30 minutes or until a toothpick inserted near the center comes out with moist crumbs.
- Cool and Enjoy: Allow the brownies to cool completely in the pan before cutting into squares. This helps lock in moisture and keeps edges chewy.
Notes
- Use room temperature eggs to help create a smoother batter.
- Don’t overbake; remove brownies when a toothpick comes out with moist crumbs for the perfect fudgy texture.
- Quality Biscoff spread matters—authentic Lotus Biscoff enhances flavor significantly.
- Chill brownies for 30 minutes after cooling to make slicing cleaner and less crumbly.
- For a visually stunning twist, swirl extra Biscoff spread on the batter before baking.
Nutrition
- Serving Size: 1 brownie (approx.)
- Calories: 250 kcal
- Sugar: 20 g
- Sodium: 90 mg
- Fat: 18 g
- Saturated Fat: 10 g
- Unsaturated Fat: 6 g
- Trans Fat: 0 g
- Carbohydrates: 22 g
- Fiber: 2 g
- Protein: 3 g
- Cholesterol: 55 mg
Keywords: Biscoff brownies, fudgy brownies, chocolate cookie butter dessert, spiced brownies, easy brownie recipe

